Are you interested in learning how to use an Artix 7 FPGA board? If so, then this blog post is for you! We will cover everything you need to know about using this type of board, including the workflow process and some tips and tricks. So whether you’re a beginner or an experienced user, be sure to read on!
Download the Artix 7 FPGA Board support files from the Xilinx website
Getting started with the Artix 7 FPGA Board is easy – just download the support files from Xilinx’s website. Once you’ve done this, all of the information and resources that you need to start developing your next project with the board will be available. Not only can you take advantage of their reference designs, but also dig into their design kits and example projects to get a better understanding of how to use the board. With these in hand, you can confidently approach any design goal with an Artix 7 FPGA Board.
Install the board support files in your Vivado installation directory
Installing the Board Support Files for your Artix 7 FPGA board is no longer a problematic process thanks to Vivado’s comprehensive installation directory. By utilizing its wide range of features, finding the right install files and making them compatible with your board will be a breeze. You can make sure you receive the latest updates and have access to all of the essential tools while installing your files quickly and easily, giving you peace of mind.
Connect the Artix 7 FPGA board to your computer using a USB cable
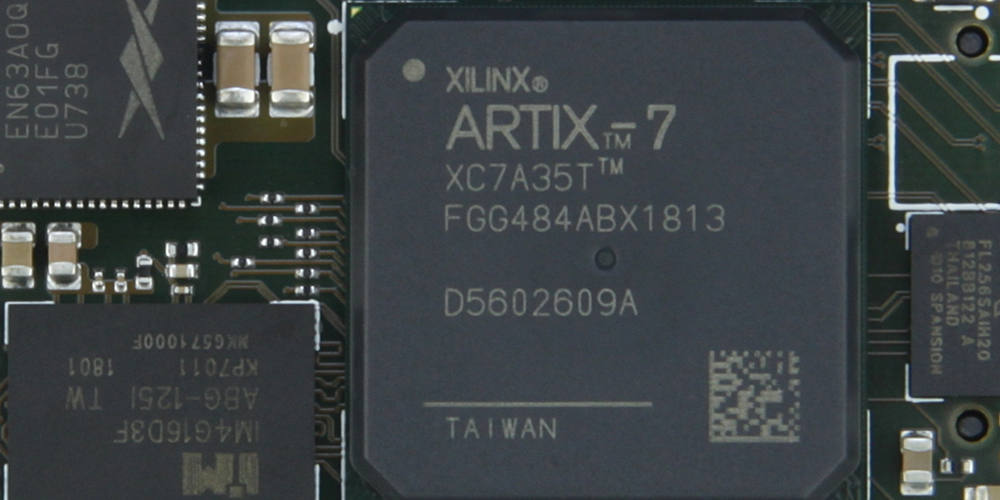
Connecting the Artix 7 FPGA board to your computer using a USB cable is an essential process if you wish to explore the full potential of this groundbreaking device. As the most powerful FPGA board on the market, the Artix 7 allows users to design digital logic while having access to resources such as control interfaces, capacitive touch devices and complex digital signal processing designs. To begin harnessing everything the FPGA has to offer users should simply connect it with their computer via a USB cable, thus establishing a powerful connection that can be used for practically any purpose imaginable.
Launch Vivado and create a new project
Getting started with your Artix 7 FPGA board just got easier with the help of Vivado! To begin, launch Vivado and create a new project. With the project open you now have access to various tools that can be used to customize design settings and setup clock constraints. Plus, if you are not quite sure how to use some of these tools, Vivado also provides tutorials and demos that can be used to understand the process more thoroughly. Having this kind of support at your fingertips makes getting hands-on experience with Artix 7 FPGAs easier than ever before!
Select the Artix 7 device when prompted during project creation

Starting a new project? Make sure you select the Artix 7 FPGA board when prompted! With some of the most advanced features for Xilinx FPGAs, the Artix 7 board can handle a wide range of applications and boosts speeds up to 375 MHz. It is also designed to consume less power than other similar boards, which means better performance and longer battery life – perfect for long-term projects. So take advantage of this great device and choose the Artix 7 device when creating your next project.
Follow the on-screen instructions to complete your project
Working with the artix 7 fpga board can be intimidating at first, but with a little knowledge it becomes much simpler! Following the on-screen instructions is the first step to start your project. Through this straightforward guide, learn how to easily use the artix 7 fpga board in order to create and execute your project. Knowing how to utilize its capabilities will give you an edge for all future endeavours with the artix 7 fpga board. So follow these steps, become familiar with its functions, and watch your creations come to life!
The Artix 7 FPGA board is a great tool for those who want to experiment with digital design and create their own custom circuits. With the support files from Xilinx, it’s easy to get started using the board. All you need is a USB cable and Vivado installed on your computer. Once you launch Vivado, just create a new project and select the Artix 7 device when prompted during creation. Then follow the on-screen instructions to complete your project. There’s no limit to what you can create with the Artix 7 FPGA board so start exploring today!